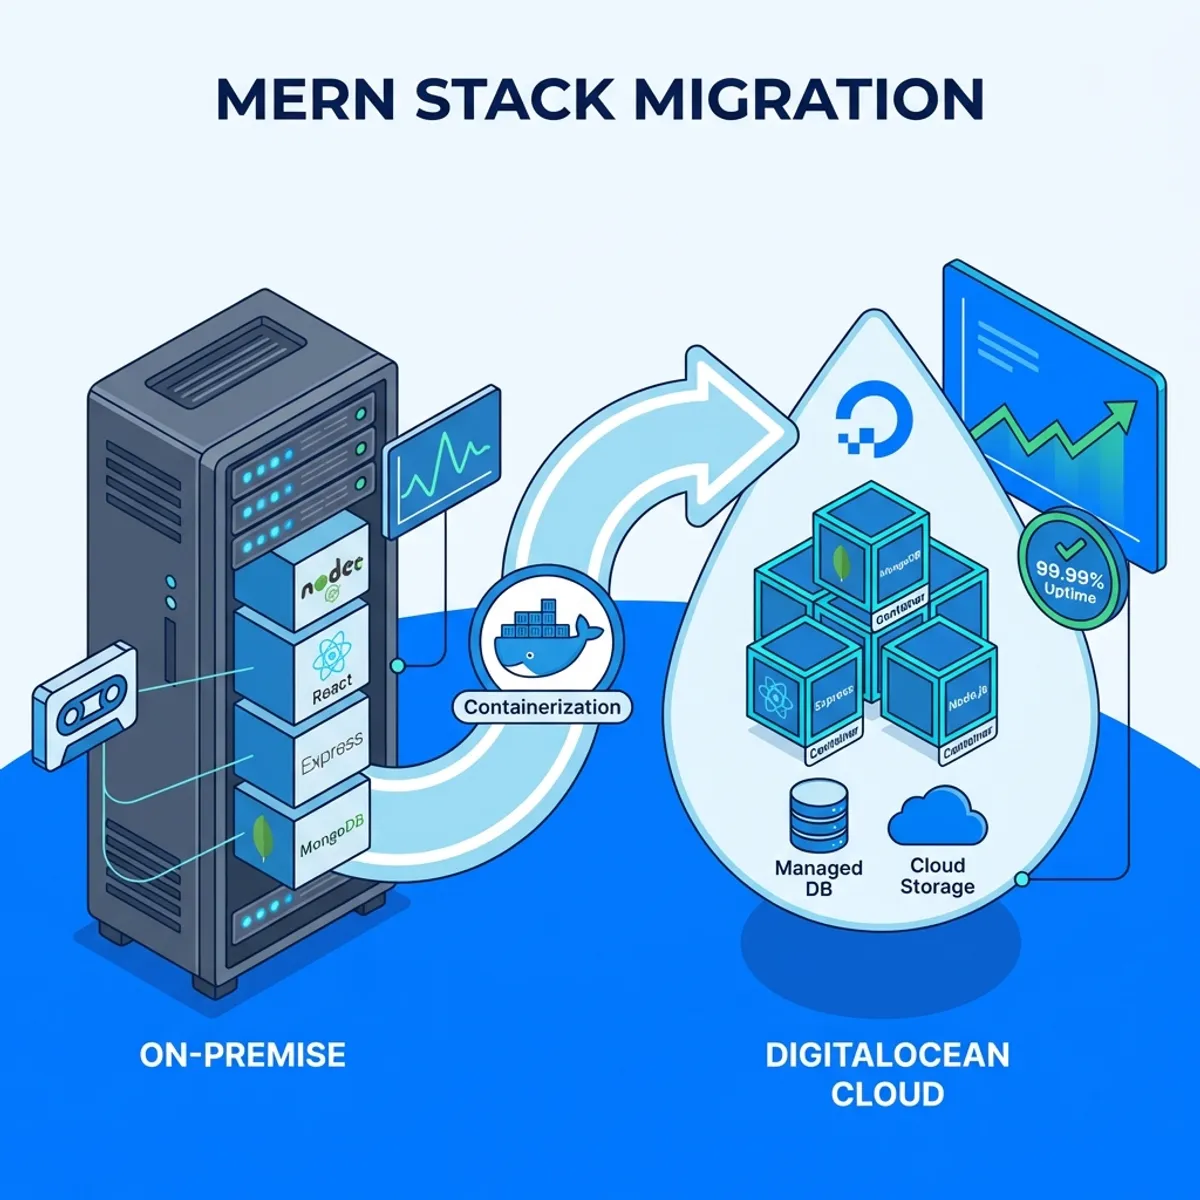
Case Study, Migrating a MERN Stack Application from On Premise to DigitalOcean
“Office server is dead. UPS ran out. All applications are down.”
In this article, we cover MERN migration to DigitalOcean in a practical way so you can apply it with confidence.
That WhatsApp message came in at 2 AM. From a client who was running an inventory management application based on MERN stack on a physical server in their office.
It took 6 hours to recover after power came back. Two days of data were lost because the last backup was a weekly backup done on Friday.
That incident became a turning point. The client finally agreed to migrate to the cloud. And the choice fell on DigitalOcean because their budget did not align with AWS pricing.
This is the complete record of that migration process.
Initial system condition
Before migration, let me describe the existing condition.
On premise architecture
The application ran on a single Dell PowerEdge physical server that was 5 years old.
- Frontend: React app served by Nginx
- Backend: Node.js with Express, running via PM2
- Database: MongoDB standalone instance
- OS: Ubuntu 18.04 LTS (already out of support)
Everything ran on one machine. Development, staging, production. One server for all.
Problems faced
Besides the power outage incident, there were some chronic problems.
- Single point of failure. If the server dies, everything dies.
- Manual backup. The IT admin had to remember to backup every week.
- No monitoring. They only knew the server had problems when the application could not be accessed.
- Difficult external access. Had to VPN into the office for maintenance.
- Scaling was impossible. Server was already maxed out on RAM and CPU.
Migration planning
Before execution, I spent one week on assessment and planning.
Application inventory
The first step was complete documentation about the application.
- Node.js version used (14.x)
- MongoDB version (4.4)
- Environment variables needed
- Existing file uploads and storage
- Integration with other systems (none)
- Data volume in MongoDB (about 15GB)
Target architecture on DigitalOcean
To keep costs controlled while improving reliability, this was the architecture I proposed.
Droplet 1: Application Server
- 2 vCPU, 4GB RAM ($24/month)
- Docker for containerization
- Nginx as reverse proxy
- Frontend and Backend in separate containers
Managed MongoDB (DigitalOcean Databases)
- Basic plan ($15/month)
- Automatic daily backup
- Standalone cluster is enough for this scale
Spaces (Object Storage)
- For file uploads
- More reliable than local disk
- $5/month for 250GB
Total monthly cost: about $44, compared to unmeasurable physical server maintenance.
Migration execution
The migration process was done in several phases to minimize downtime.
Phase 1: application dockerization
Before migration, the application needed to be containerized. This is a step often skipped but very crucial.
Dockerfile for Backend
FROM node:14-alpine

WORKDIR /app

COPY package*.json ./
RUN npm ci --only=production

COPY . .

EXPOSE 5000

CMD ["node", "server.js"]
Dockerfile for Frontend
FROM node:14-alpine AS builder

WORKDIR /app
COPY package*.json ./
RUN npm ci
COPY . .
RUN npm run build

FROM nginx:alpine
COPY --from=builder /app/build /usr/share/nginx/html
COPY nginx.conf /etc/nginx/conf.d/default.conf

EXPOSE 80
Docker Compose for Orchestration
version: '3.8'

services:
  backend:
    build: ./backend
    environment:
      - MONGODB_URI=${MONGODB_URI}
      - JWT_SECRET=${JWT_SECRET}
      - NODE_ENV=production
    restart: unless-stopped

  frontend:
    build: ./frontend
    ports:
      - "80:80"
      - "443:443"
    depends_on:
      - backend
    restart: unless-stopped
If you are not familiar with Docker yet, I have written a Docker guide from scratch that covers containerization fundamentals.
Phase 2: setup DigitalOcean infrastructure
Creating a Droplet
- Login to DigitalOcean
- Create → Droplets
- Choose Ubuntu 22.04 LTS
- Choose Basic plan, 2 vCPU / 4GB RAM
- Choose Singapore region (closest to Indonesia)
- Enable backups (automated weekly)
- Add SSH key for access
Setup Managed MongoDB
- Databases → Create Database Cluster
- Choose MongoDB
- Choose Basic plan (shared CPU)
- Same region as Droplet
- Create cluster
After the cluster is ready, note the connection string provided.
Setup Spaces for Storage
- Spaces → Create Space
- Clear naming convention
- Note the access key and secret key
Phase 3: MongoDB data migration
This is the most critical part. Data must not be lost.
Export from Old Server
mongodump --uri="mongodb://localhost:27017/inventory" --out=/backup/$(date +%Y%m%d)Compress for Transfer
tar -czvf mongodb-backup.tar.gz /backup/20260125/Transfer to New Server
scp mongodb-backup.tar.gz root@droplet-ip:/tmp/Import to Managed MongoDB
mongorestore --uri="mongodb+srv://user:pass@cluster.mongodb.net/inventory" /tmp/backup/inventory/The import process took about 45 minutes for 15GB of data.
Phase 4: deploy application
After data is ready, time to deploy the application.
Clone Repository on Server
git clone https://github.com/company/inventory-app.git /opt/inventory
cd /opt/inventory
Setup Environment Variables
cat > .env << EOF
MONGODB_URI=mongodb+srv://user:pass@cluster.mongodb.net/inventory
JWT_SECRET=your-secure-jwt-secret
DO_SPACES_KEY=your-spaces-key
DO_SPACES_SECRET=your-spaces-secret
DO_SPACES_BUCKET=inventory-files
NODE_ENV=production
EOF
Build and Run
docker compose build
docker compose up -d
Phase 5: DNS and SSL
Domain Setup
- At the domain registrar, point A record to Droplet IP
- Wait for propagation (usually 5 minutes to 24 hours)
SSL Setup with Let’s Encrypt
I used Nginx as reverse proxy with Certbot.
apt install certbot python3-certbot-nginx -y
certbot --nginx -d app.company.com
Certbot automatically configures Nginx and sets up auto-renewal.
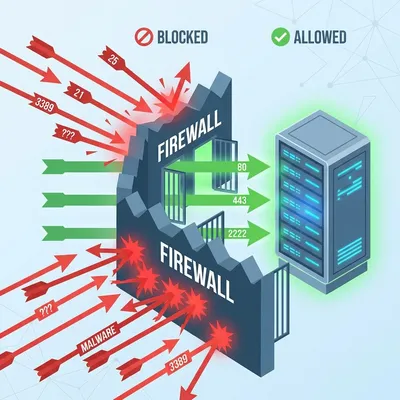
Challenges faced
Migration does not always go smoothly. Here are some problems that arose.
MongoDB connection string format
Connection string for MongoDB Atlas/Managed is different from standalone. The mongodb+srv:// format requires different DNS resolution.
Solution: Update the MongoDB driver in the application to the latest version that supports SRV records.
File upload path
The application originally saved files to /var/uploads/. In containers, this path is not persistent.
Solution: Migrate all files to DigitalOcean Spaces and update the application to use S3 compatible SDK.
const AWS = require('aws-sdk');

const spacesEndpoint = new AWS.Endpoint('sgp1.digitaloceanspaces.com');
const s3 = new AWS.S3({
  endpoint: spacesEndpoint,
  accessKeyId: process.env.DO_SPACES_KEY,
  secretAccessKey: process.env.DO_SPACES_SECRET
});
Timezone issues
The old server used Asia/Jakarta timezone. Containers default to UTC.
Solution: Set timezone in docker-compose.yaml.
environment:
  - TZ=Asia/Jakarta
Memory limits
The backend container sometimes crashed due to memory limits. Node.js by default uses about 1.5GB heap.
Solution: Set proper memory limits and add health check.
backend:
  deploy:
    resources:
      limits:
        memory: 1G
  healthcheck:
    test: ["CMD", "curl", "-f", "http://localhost:5000/health"]
    interval: 30s
    timeout: 10s
    retries: 3
Post migration improvements
After successful migration, I added several improvements.
Monitoring with uptime kuma
Setup Uptime Kuma in a separate container for monitoring.
uptime-kuma:
  image: louislam/uptime-kuma
  ports:
    - "3001:3001"
  volumes:
    - uptime-kuma-data:/app/data
  restart: unless-stopped
Now there are alerts when the application goes down.
Automated backup script
Although DigitalOcean Databases already has automatic backup, I added additional backup to Spaces.
#!/bin/bash
DATE=$(date +%Y%m%d)
mongodump --uri="$MONGODB_URI" --out=/tmp/backup-$DATE
tar -czvf /tmp/backup-$DATE.tar.gz /tmp/backup-$DATE
s3cmd put /tmp/backup-$DATE.tar.gz s3://inventory-backups/
rm -rf /tmp/backup-$DATE*
This script runs via cron every night.
CI/CD pipeline
Setup GitHub Actions for automated deployment.
name: Deploy
on:
push:
branches: [main]
jobs:
deploy:
runs-on: ubuntu-latest
steps:
- uses: actions/checkout@v3
- name: Deploy to DigitalOcean
uses: appleboy/ssh-action@master
with:
host: ${{ secrets.DO_HOST }}
username: root
key: ${{ secrets.DO_SSH_KEY }}
script: |
cd /opt/inventory
git pull
docker compose build
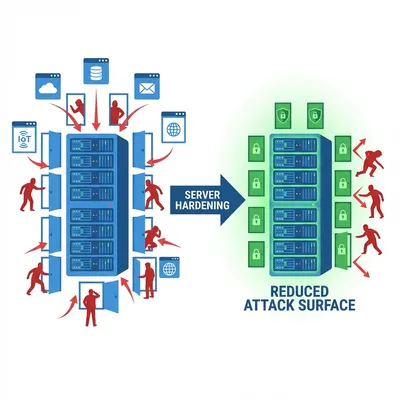
docker compose up -dFor hardening your DigitalOcean server, make sure you have applied Linux server security best practices.
Final results
After migration was complete, here is the comparison.
| Aspect | Before | After |
|---|---|---|
| Uptime | ~95% (depending on power) | 99.9% (DigitalOcean SLA) |
| Backup | Manual weekly | Automatic daily |
| Monitoring | None | Real-time alerts |
| Deployment | Manual SSH | Automated via GitHub |
| Cost | Unmeasurable | $44/month predictable |
| Maintenance | Local IT admin | Remote management |
The client was very satisfied. No more power outage drama in the middle of the night.
Lessons from this project
First, containerization before migration is mandatory. Do not try to migrate applications that are still running directly on the OS.
Second, test data migration in a separate environment first. Not directly production.
Third, downtime window must be clearly communicated to stakeholders.
Fourth, document every step. This will be useful for troubleshooting and future migrations.
Closing thoughts
Migrating from on premise to cloud is not just about moving files. It is an opportunity to improve architecture, increase reliability, and reduce technical debt.
DigitalOcean proved to be a solid choice for medium scale applications with limited budgets. Straightforward pricing and good documentation make it suitable for small teams.
If your application is still running on an office server, consider migration before an incident forces you to.
Better a planned migration than emergency recovery in the middle of the night.
I hope this guide on MERN migration to DigitalOcean helps you make better decisions in real-world situations.
Implementation Checklist
- Replicate the steps in a controlled lab before production changes.
- Document configs, versions, and rollback steps.
- Set monitoring + alerts for the components you changed.
- Review access permissions and least-privilege policies.
Official References
Need a Hand?
If you want this implemented safely in production, I can help with assessment, execution, and hardening.
Contact MeAbout the Author
Kamandanu Wijaya
IT Infrastructure & Network Administrator
Infrastructure & network administrator with 14+ years of enterprise experience, focused on stability, security, and automation.
Certifications: Google IT Support, Cisco Networking Academy, DevOps.
View ProfileNeed IT Solutions?
DoWithSudo team is ready to help setup servers, VPS, and your security systems.
Contact Us